
▼ Price
Coder
Free mode
100% free
Freemium
Free Trial
-
**Simple Chat Application using Python** ===================================== Here is a simple code for a chat application using Python: **Server Side (chat_server.py)** ```python import socket import threading HOST = '127.0.0.1' PORT = 9090 server = socket.socket(socket.AF_INET, socket.SOCK_STREAM) server.bind((HOST, PORT)) server.listen() clients = [] nicknames = [] def broadcast(message): for client in clients: client.send(message) def handle(client): while True: try: message = client.recv(1024) broadcast(message) except: index = clients.index(client) clients.remove(client) client.close() nickname = nicknames[index] broadcast(f'{nickname} left the chat!'.encode('ascii')) nicknames.remove(nickname) break def receive(): while True: client, address = server.accept() print(f"Connected with {str(address)}") client.send('NICK'.encode('ascii')) nickname = client.recv(1024).decode('ascii') nicknames.append(nickname) clients.append(client) print(f'Nickname of the client is {nickname}!') broadcast(f'{nickname} joined the chat!'.encode('ascii')) client.send('Connected to the server!'.encode('ascii')) thread = threading.Thread(target=handle, args=(client,)) thread.start() print("Server Started!") receive() ``` **Client Side (chat_client.py)** ```python import socket import threading HOST = '127.0.0.1' PORT = 9090 client = socket.socket(socket.AF_INET, socket.SOCK_STREAM) client.connect((HOST, PORT)) def receive(): while True: try: message = client.recv(1024).decode('ascii') if message == 'NICK': client.send(nickname.encode('ascii')) else: print(message) except: print("An error occurred!") client.close() break def write(): while True: message = f'{nickname}: {input("")}' client.send(message.encode('ascii')) nickname = input("Choose a nickname: ") receive_thread = threading.Thread(target=receive) receive_thread.start() write_thread = threading.Thread(target=write) write_thread.start() ``` **How to use:** 1. Run the `chat_server.py` script in a separate terminal or command prompt. 2. Run multiple instances of the `chat_client.py` script in separate terminals or command prompts. 3. Each client will be prompted to enter a nickname. 4. Clients can send messages to each other by typing and pressing enter. Note: This is a very basic implementation and you may want to add more features such as error handling, encryption, and more.
Featured matches
-
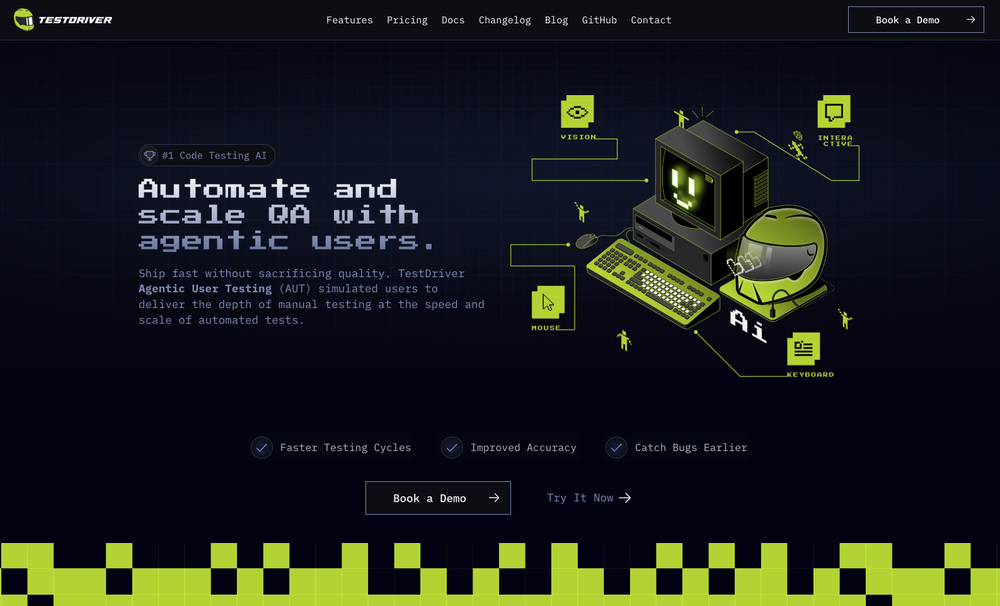 Ian Jennings🛠️ 1 tool 🙏 19 karmaNov 3, 2024@TestDriverTest failure can be triggered by: - Text not being found - Image not being found - "Assert" condition not being met (according to AI with 90% confidence)
 -
 Open
Open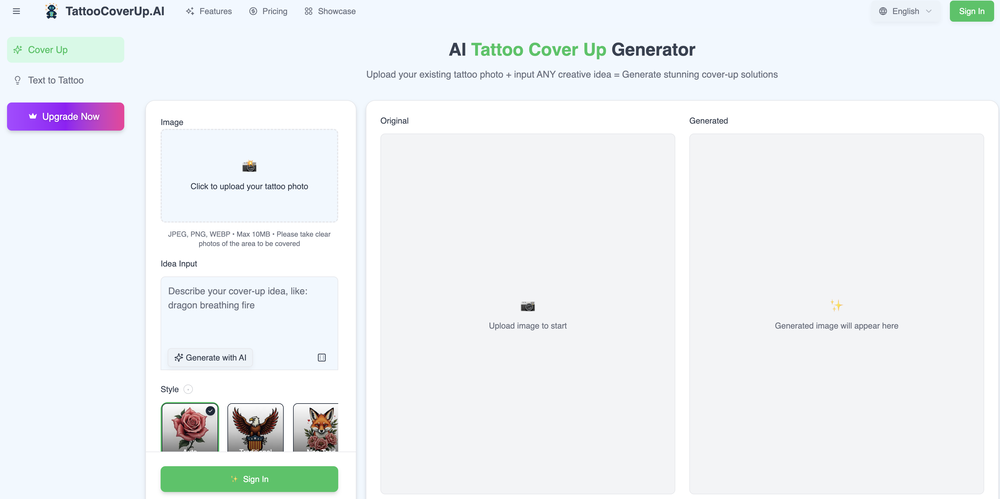
-
 Modular & Cross-Platform Vibe Coding Editor and Workflow Automation on Any DeviceOpen
 good!A different kind of AI tool that has been very helpful for my work!
 -

-
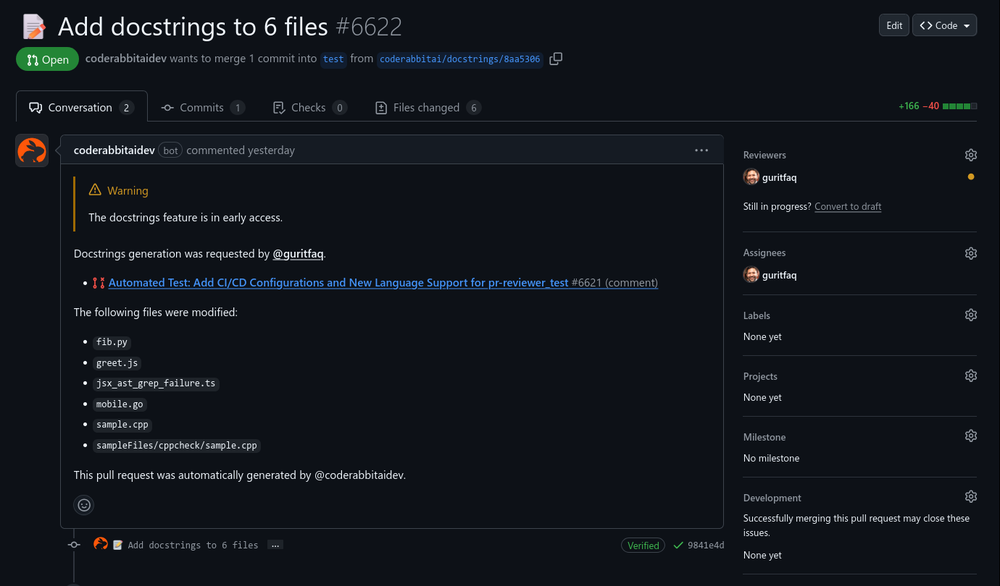 Reducing manual efforts in first-pass during code-review process helps speed up the "final check" before merging PRs
 -

-
 Assign Jira tickets directly to Cursor agents and get PRs and Previews.Open
-
 Nice and simple tool. Not all generated images are perfect, but I like that you can simultaneously generate multiple covers in different styles. Every spin, I get at least a couple of beautiful ones.
 -
-
 LLM-driven security review and fixes, seamlessly integrated into your GitHub pull requests.Open


Other tools
-
-
You need an Open AI Api Key, but when you put it in and click Save it says it needs to be 10 characters or more. It Definitely was 10 char's or more. So, gave up on it.
- Sponsor
 MongoDB - Build AI That Scales🗄️ Database
 -
Really handy app, lets me control Virtual Studio Code from my phone, send over code or files in seconds, and even use voice commands.
-
 Transform your codebase into comprehensive, beautiful documentation automatically.Open
 - Didn't find the AI you were looking for?
-
It appears to work well for me. You might consider giving it another try.
-
-
 Generate tailored cover letters from resume and job description.OpenIt makes crafting professional, tailored cover letters quick and stress-free, helping you stand out with ease. Highly recommended for everyone!
 -
I need to create a relationship between the Excel that contains the phone numbers in column A for the people to whom I want to send their performance sheet via WhatsApp every month with the click of a button automatically and without any intervention from me, knowing that the performance sheet is an image in column C and each person has his own sheet where the only link between the performance sheet and the phone number is their personal names
-
-
Hi there - this is Paris, the maker of TimeComplexity.ai! I hope you like this tool, please let me know any feedback!
-
Hello! You can absolutely create one for free before paying, you get one free credit to try it out
-
I'm a developer and Code Genius is my pair programming, it's amazing how much time it already saved me. Especially when it comes to unit tests (Jest and React Testing Library) 💯 Recommended!
-
-
For me it worked. I recommend trying again.
-
 Open
Open -
 AI-powered code reviews that accelerate pull requests and improve code qualityOpenI signed up for early access and have been using codoki for a few months now, eventually brought it into my team as well. Great tool, simple to use, not overwhelming and has caught things in a way thats actually digestible
 -
 Open
Open -
No free option all models are behind a pay wall.
-
-
 Generate code snippets, functions, and components with AI assistance.OpenGreat tool for helping with coding tasks.
 -
 Chain AI tasks with no-code into workflows for chatbots, video, documents, andOpenThis tool removes all of the prep work of getting an LLM API endpoint running. I can try out ideas quickly and see within minutes whether an endpoint concept actually works. And when it does, moving it into a production app is about as easy as it gets.
 -
Its a really great code generator, it helped me with lots of codes for lots of programming languages, it gives short answers, explain the code and gives you versions of the code if asked
-
Dont work on resume longer than 1500 words
-
Would rate 4.9 if possible, but rounding up to 5 stars because this app truly excels compared to other AI coding tools. Why 5 Stars: Best-in-class AI coding assistance Huge improvements over competitors Actually works for real development Real Impact: I successfully built and published an actual app using this tool - that's game-changing for non-developers like me. Bottom Line: Yes, there's room for improvement, but this is already the top AI coding app available. The fact that ordinary people can create real apps with it says everything. Perfect for anyone wanting to turn ideas into actual apps!
-
I was able to produce some really stunning QR codes that consistently scan on my phone and it's the easiest tool I've found that makes it simple to do this without needing to worry about the AI behind it.
-
-
 AI-powered job application assistant for winning resumes and cover letters.Open
 -
 Build AI Mobile & Web Apps - No Code, No Api KeysOpenI built my fitness app and published it to both App Store and Google Play in just 3 days. OnSpace AI handled all the mobile development complexity. I'm now earning from in-app subscriptions.
 -
 Automated AI-powered tools to generate Code & Api documentation from your sourceOpenDocuWriter.ai has helped us to document all our codebase. And to understand old legacy code as well.
 -
Really impressed with CodeThreat! It’s great to have a free tool that detects both code vulnerabilities and library risks. The setup was smooth, and it fits well into CI/CD pipelines. Definitely worth checking out!
-
 AI code assistant that accelerates development while ensuring privacy.Open
 -
 Open
Open -
-
 Transform photos into vintage comic book covers.Open
 -
 Instantly generates clean, optimized Node.js code from your specifications.Open
 -
 Open
Open -
 Transform job postings into personalized cover letters instantly.Open
 -
 Transform job details into professional cover letters instantly.Open
 -
 Transform complex programming problems into crystal-clear pseudocode.Open
 -
Great tool! And totally free! Directly from haven
-
This tool took a lot of trial and error to get the vibe I was hoping for, and I'm impressed with it so far. Hopefully people get a kick out of it.
-
 Transform programming ideas into crystal-clear pseudocode instantly.Open
 -
 AI book cover designer that creates visually striking, genre-appropriate covers from your title.OpenThe creativity in this one is great. It still messes up the words a little bit, but I noticed it seems to be a common thing with tools like this. Overall, it’s a fantastic option for cover design
 -
 Open
Open -
Not the best tool out there, but the generated images were interesting and good enough for sketching a first idea for how you want your future book cover to look like
-
 Open
Open -
 OpenFun and easy to use. You need to fix some lines by yourself but most of code will write for you!
 -
 AI-powered graphic designer for vibrant Afrobeat album covers.Open
 -
 Optimize AV codecs for peak streaming performance.Open
 -
 Open
Open -
 AI-powered code generator for efficient development.OpenIf you just started using python or coding this could help you a lot! I remember first time searching for a string of code and... it wasnt the most easy task at all.
 -
Everthing is good but words on image is not properly spelling.
-
-
 Open
Open -
Web Development and App Building Services Overview As a skilled developer, I can assist with creating websites and building mobile applications. I can also generate code to help with programming tasks. Web Development Services Mobile App Development Services Cross-Platform Mobile Apps: I can also develop cross-platform mobile apps using frameworks like React Native, Flutter, or Xamarin. Mobile App Design: I can create user-friendly and intuitive mobile app designs that meet your specific needs. Programming Services Code Generation: I can generate code snippets in various programming languages, including Python, Java, JavaScript, and C . Programming Language Support: I can assist with programming tasks in a variety of languages, including but not limited to: Bug Fixing and Debugging: I can help identify and fix errors in your code. Example Code Generation Here's an example of a simple "Hello, World!" program in Python: def main(): print("Hello, World!") if __name__ == "__main__": main() Or a simple JavaScript function to add two numbers: function addNumbers(a, b) { return a b; } console.log(addNumbers(2, 3)); // Output: 5 Let me know if you have a specific project in mind, and I'll be happy to assist you. I can create websites, build apps and generate codes
-
Thank you for the answers and solutions.
-
 AI code assistant: Analyze, explain, and optimize snippets instantly.Open
 -
 Open
Open -
the program does not show what you ask for there for its useless for creating book cover that is required
-
The images are pretty good but it rarely gets the name/title correct
-
 Open
Open -
mini-tool? nahhh, this one's a mini-cool. but for real, it actually gives nice tattoo ideas, ofc nothing out of the ordinary, but it throws out decent concepts and it's fast as hell
-
 Craft compelling novel covers with AI precision.Open
 -
user friendly and gaves accurate results so for me its 10/10 tool
-
-
 AI-powered Web3 dev mentor for full-stack mastery.Open
 -
-
 Transform patient data into precise medical codes instantly.Open
 -
 Open
Open


Post


